Expert Toronto | Appliance Repair Services
- info@appliance-expert.ca
- +1 (437) 600-6066

Dryer Not Heating, No Power, or Making Noise Guide
Dryer Repair Near Me: Complete Troubleshooting Guide for Noise, Heating, and Power Issues
Experiencing issues with your dryer can be frustrating, especially when it starts making unusual noises, fails to heat, or shows no signs of power. This comprehensive troubleshooting guide will help you identify common problems and their solutions, ensuring your dryer operates efficiently. By understanding the mechanics behind these issues, you can save time and potentially avoid costly repairs. This article will cover the most frequent dryer problems, including noise issues, heating failures, and power outages, along with effective troubleshooting steps. Additionally, we will highlight the importance of professional repair services when necessary, particularly for residents in Toronto and surrounding areas.
Why Is My Dryer Making Loud Noise? Common Causes and Solutions
Loud noises from a dryer can indicate various underlying issues that need to be addressed. Understanding the common causes of these noises is essential for effective troubleshooting. Noises such as rattling, thumping, or grinding can stem from loose components, unbalanced loads, or worn-out parts. Identifying the source of the noise is the first step in resolving the issue and restoring your dryer’s functionality.
Common Causes of Loud Noises

- Rattling Noises: Often caused by loose screws or components within the dryer. Inspecting and tightening these parts can eliminate the noise.
- Thumping Noises: This may indicate an unbalanced load or a problem with the drum support. Redistributing the load or checking the drum’s alignment can help.
- Grinding Noises: Typically a sign of worn-out bearings or a faulty motor. In such cases, professional assistance may be required to replace the affected parts.
Effective Troubleshooting Tips
To effectively troubleshoot loud noises in your dryer, consider the following steps:
- Inspect the Load: Ensure that the load is balanced and not overloaded, as this can cause excessive noise.
- Check for Loose Parts: Examine the dryer for any loose screws or components that may be causing rattling sounds.
- Examine the Exhaust Vent: A blocked vent can lead to increased noise levels. Ensure the vent is clear and functioning properly.
What Dryer Parts Cause Noise Problems?
Several components within a dryer can contribute to noise issues. Understanding these parts can help in diagnosing the problem effectively. Common culprits include the drum support rollers, the drive belt, and the motor. If these parts are worn or damaged, they can create significant noise during operation.
How Can I Diagnose and Fix Dryer Noise Issues?
Diagnosing dryer noise issues involves a systematic approach to identify the source of the problem. Start by listening carefully to the type of noise your dryer is making, as this can provide clues about the underlying issue.
- Rattling Noises Diagnosis: Check for loose screws or components that may need tightening.
- Thumping Noises Diagnosis: Ensure the load is balanced and the drum is properly aligned.
- Squeaking Noises Diagnosis: Inspect the drum support rollers and belt for wear and tear.
For persistent issues, it may be beneficial to consult a professional repair service, such as Appliance Expert, which specializes in dryer repairs in Toronto.
How to Troubleshoot a Dryer That Is Not Heating Properly

When a dryer fails to heat, it can be due to several factors, including clogged vents, blown thermal fuses, or faulty door switches. Identifying the cause is crucial for restoring heating functionality.
Common Causes
- Clogged Exhaust Vent: A blocked vent can prevent hot air from circulating, leading to inadequate heating.
- Blown Thermal Fuse: This safety device can blow if the dryer overheats, cutting off power to the heating element.
- Faulty Door Switch: If the door switch is malfunctioning, the dryer may not heat properly.
Diagnostic Steps
To diagnose heating issues, follow these steps:
- Perform a Reset: Unplug the dryer for a few minutes to reset the system.
- Check the Venting System: Ensure that the exhaust vent is clear and not obstructed.
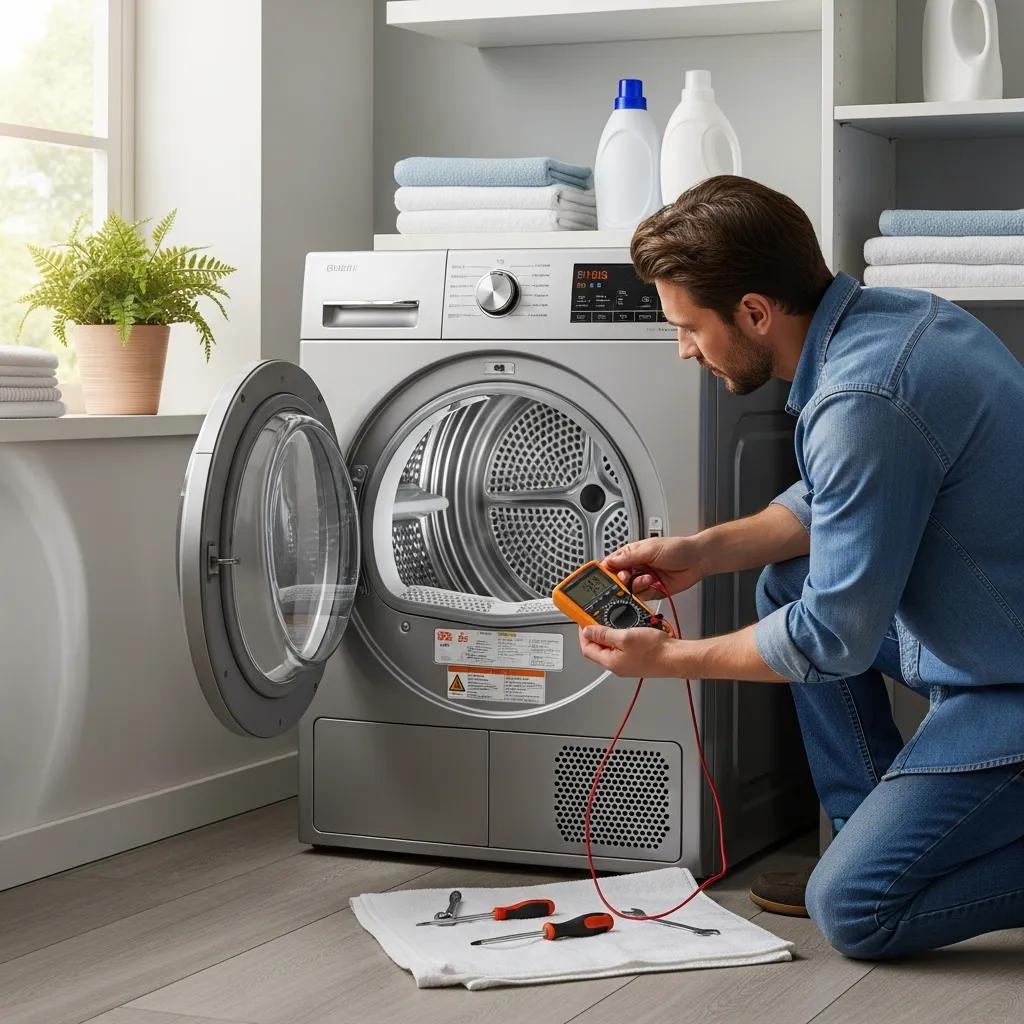
- Test the Dryer’s Heat: Use a multimeter to check the heating element and thermal fuse for continuity.
Potential Solutions
- Clean the Exhaust Vent: Regularly cleaning the vent can prevent heating issues caused by blockages.
- Replace the Thermal Fuse: If blown, replacing the thermal fuse is necessary to restore heating.
- Inspect the Door Switch: Ensure the door switch is functioning correctly to allow the dryer to heat.
What Are the Main Causes of Dryer Heating Failure?
Understanding the main causes of dryer heating failure is essential for effective troubleshooting. Common issues include clogged vents, blown thermal fuses, and faulty door switches. Each of these problems can significantly impact the dryer’s ability to generate heat.
What Steps Can I Take to Restore Dryer Heating?
To restore heating functionality in your dryer, consider the following steps:
- Check the Venting System: Ensure that the vent is clear and free of obstructions.
- Inspect Electrical Components: Check for any damaged wires or connections that may affect heating.
- Perform a Reset: Resetting the dryer can sometimes resolve minor issues.
What Should I Do If My Dryer Has No Power? Diagnosing Electrical Issues
If your dryer shows no signs of power, it may be due to electrical issues such as tripped circuit breakers, faulty power cords, or internal fuse problems. Diagnosing these issues is crucial for restoring functionality.
Potential Causes
- Tripped Circuit Breakers: Check your home’s electrical panel to see if the circuit breaker has tripped.
- Faulty Power Cord: Inspect the power cord for any signs of damage or wear.
- Internal Fuse Issues: A blown internal fuse can prevent the dryer from receiving power.
Troubleshooting Steps
To troubleshoot power issues, follow these steps:
- Check Circuit Breakers: Ensure that the circuit breaker for the dryer is not tripped.
- Inspect Power Cord: Look for any visible damage to the power cord.
- Examine Outlet: Test the outlet with another device to ensure it is functioning properly.
Which Components Affect Dryer Power Supply?
Several components can affect the power supply to your dryer, including the electrical panel, internal fuse box, and power cord. Understanding these components can help in diagnosing power issues effectively.
How to Safely Troubleshoot Dryer Power Failures?
When troubleshooting power failures, safety is paramount. Always unplug the dryer before performing any inspections or repairs. Use protective gear and consult a professional if you are unsure about any steps.
How Does Dryer Lint Trap Cleaning Prevent Problems? Maintenance Tips for Reliable Performance
Regular lint trap cleaning is essential for maintaining dryer performance and preventing potential issues. A clean lint trap allows for proper airflow, reducing the risk of overheating and fire hazards.
Impact on Performance
Neglecting to clean the lint trap can lead to several problems, including:
- Noise Issues: A clogged lint trap can cause the dryer to work harder, leading to increased noise levels.
- Heating Problems: Insufficient airflow can prevent the dryer from heating properly.
- Increased Power Consumption: A dirty lint trap can cause the dryer to use more energy, leading to higher utility bills.
Recommended Cleaning Frequency
To maintain optimal performance, it is recommended to clean the lint trap after every use and schedule an annual vent line cleaning.
Tips for Effective Maintenance
- Remove Lint Filter After Each Use: This simple step can significantly improve dryer efficiency.
- Inspect Exhaust Hose: Regularly check the exhaust hose for blockages or damage.
- Schedule Professional Maintenance: Consider professional servicing to ensure your dryer operates safely and efficiently.
Why Is Regular Lint Trap Cleaning Important?
Regular lint trap cleaning is crucial for ensuring dryer safety and efficiency. It helps prevent overheating, reduces fire risks, and maintains optimal drying performance.
What Are Best Practices for Dryer Maintenance?
To keep your dryer in top condition, follow these best practices:
- Regular Cleaning: Clean the lint trap after every use to ensure proper airflow.
- Inspecting Components: Regularly check for any signs of wear or damage in the dryer’s components.
- Scheduling Professional Help: Consider professional maintenance to address any potential issues before they escalate.